Whether early morning or before dusk, during the week or headed into the weekend, there is no wrong time to tackle the task of mowing a large property. Imagine though that it is time to start the work and start up the lawn mower…only the mower
does not start. Now, instead of settling in and taking care of the job at hand, it is time to troubleshoot.
When equipment, any equipment, does not work as it should, it is frustrating. It can mean costly repairs. And then there is perhaps
the worst part: the lost hours and productivity. Professionals need their riding lawn mower to be just as reliable and ready to go as any other machines in the fleet. One of the best ways to ensure dependability and good performance is a commitment
to routine maintenance.
With the nature of the work they do and the environments in which they are used, lawn mowers have maintenance requirements all their own. Boiling it down a step further, commercial-grade mowers and those intended
for more hours of use have slightly different considerations than riding mowers intended for light residential use.
For growers maintaining their large properties, landscapers caring for customer yards, or others taking care of lawn
maintenance, here are four basic lawnmower maintenance tips.
Related article: New to lawn mowers? Here’s how to find the mower to match your acreage
Note: Before proceeding with maintenance, always consult the operator’s manual, wear appropriate safety gear, park the mower on a flat surface, and ensure the engine is off and cool.
1. Air Filter
Dirty air filters do more than hamper a mower’s performance – they create inefficient operation that wastes fuel. Worse yet, if they allow dirt and other debris to enter the engine, the result can be permanent damage.
While the average homeowner might replace the air filter only once a year, commercial mowers likely need a filter replacement more often. The frequency further depends on the environment, with drier, dustier, dirtier conditions requiring more air filter
changes. Check the air filter monthly to assess condition.
When it is time to change the filter, first clear away any debris from the air intake area. Remove the paper element and foam pre-cleaner. A paper air filter element should never be cleaned, only changed when warranted. A foam pre-cleaner can be cleaned
in a bucket of warm soapy water. Rinse, squeeze out excess water, and allow the pre-cleaner to air dry on a clean towel.
Once dry, replace the pre-cleaner, taking care so debris does not get pushed into the engine. Insert a new, clean air filter and close the cover.
2. Fuel Filter
Similar to the air filter, a clean fuel filter keeps harmful particles from entering and damaging the engine and aids in efficient fuel consumption. The best time to change a fuel filter varies by machine so it is best to consult the operator’s
manual as a guide, then check regularly, as appropriate.
When it is time to change a fuel filter, begin by placing a drain pan under it. Note the arrow on the existing fuel filter and the direction it is pointing. The new filter must be
attached so that the arrow is pointing in the same direction.
Inspect the fuel filter and connecting hoses, looking for cracks or signs of excessive wear. Next, loosen the hose clamps and move them away from the filter. Disconnect the hoses from the old filter, then quickly reattach the new filter, making sure it
is facing the correct way. Finally, reposition the hose clamps to ensure the filter is secure.
It is a good idea to start the mower and let the engine run for a few minutes while quickly checking for any leaks.
Related video: First-time buyer? See how to choose between a riding lawn mower and zero-turn mower
The final step is to dispose of the fuel filter in an environmentally-responsible
way. Most filters need to drain for a day, then disposal will vary according to local laws. Also, any spilled fuel and fuel-soaked towels should also be discarded in a proper manner.
3. Engine Oil
Perhaps the most basic step of any equipment preventative maintenance is a daily oil check. While a homeowner only needs to change the oil annually, higher-use commercial mowers demand more frequent changes. As with the air filter, the environment will
dictate how often oil changes are required, with dry, dusty, and dirty conditions demanding more frequent changes.
Most professional equipment owners and operators are also pros at oil changes but for those who are newer to the process or need a simple refresher, begin by placing a drain pan under the oil plug and loosen the dipstick. Next, drain the oil. Replace
the oil plug, then wipe down and clean the area. Replace the engine oil with a fresh fill and finally, replace the dipstick.
Run the engine for a minute, then shut it off and allow ample cool-down time. While the engine is cooling off, clean any spilled oil and dispose of the old oil in a proper manner. Check with local regulations and, ideally, look for recycling options.
There is one final step before checking this job as complete. When the engine is cooled, check the oil level. Over-filling can damage the spark plug and lead to engine start issues.
4. Daily To-Dos
There are a handful of miscellaneous tasks that should become part of a daily lawn mower maintenance routine. Most of these involve simple checks, with larger efforts only on an as-needed basis.
Start every day by checking the mower’s
tires and tire pressure. Inadequate tire pressure affects the quality of cut, while a puncture may be the root source of a low tire.
Another simple morning check is the bagger, if one is being used. Look for rips, holes, or other damage
that would warrant replacement.
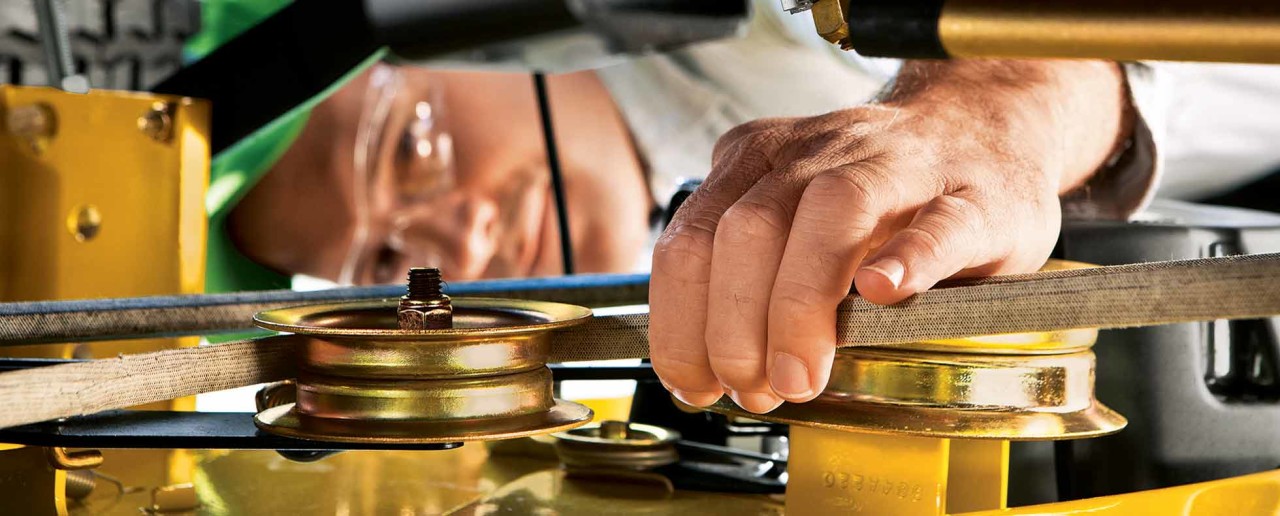
A clean mower, good-condition belts, and sharp blades ensure good airflow and quality of cut. At the end of each day, remove the mower deck as instructed in the owner’s manual and clean it of excess debris.
Once a week, inspect the drive belt for worn or cracked areas and replace the belt, if needed. Also, remove and check the blade, looking for any signs of damage or excessive wear. Depending on the condition, a blade can be replaced or may just need to
be sharpened. Many commercial or more frequent users find the blade to be one of the most important areas to check and will clean and sharpen on a weekly schedule.
Although it may sound time-consuming and not crucial compared to TLC for larger machines, basic maintenance is one of the easiest tasks, most cost-effective plans, and best investments professionals can make in their lawn mower. By giving it some simple,
routine care, the mower will pay back with years of dependable operation and beautifully cut grass.
--
About The Author
Matt Robertson is Service Manager for
RDO Equipment Co. in Moorhead, MN.
He has been with the company nearly 20 years and helps customers get the most uptime and performance from equipment by ensuring a great service experience.
Whether zero-turn mower or residential lawn tractor,
find the best lawn mower for your needs. See more options and learn about preventative maintenance, parts, and full service at your
local RDO Equipment Co. store.